
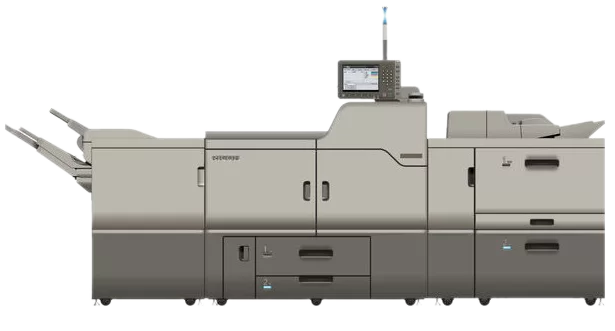
Driver for Ricoh Pro C7100S series E-83A PS 1.0
Table of Contents
The official driver for the Ricoh Pro C7100S series E-83A PS 1.0 is essential for connecting the printer to your computer for the first time or after a Windows operating system reinstall. This driver enables the system to recognize the printer for configuration and printing tasks. Installation is straightforward and automatic, and remember to restart your computer after installation to apply the changes.
You can download the driver for Ricoh Pro C7100S series E-83A PS 1.0 for your specific operating system from the table below, after which we recommend reviewing the installation instructions.
Download Driver for Ricoh Pro C7100S series E-83A PS 1.0
| OS Versions: Windows 11, Windows 10 32-bit, Windows 10 64-bit, Windows 8.1 32-bit, Windows 8.1 64-bit, Windows 8 32-bit, Windows 8 64-bit, Windows 7 32-bit, Windows 7 64-bit | |
| Driver Type | Download |
| PCL 6 Driver | |
| PCL 5e Driver | |
| Scanner Driver | |
On this page, you can download the Ricoh Pro C7100S series E-83A PS 1.0 driver! Download the necessary drivers for Windows, Linux, and Mac operating systems at no charge.
How to Install the Driver for Ricoh Pro C7100S series E-83A PS 1.0
- Download the driver from the table according to your Windows OS version.
- Run the downloaded file.
- Accept the “License Agreement” and click “Next.”
- Specify how you will connect the printer to the computer and click “Next.”
- Wait for the installation to complete.
- Restart the computer to apply the changes.
Before installing the driver, ensure that no other version is installed on your computer. If it is, uninstall it prior to the new installation.
Common Issues and Solutions During Driver Installation
- Printer Detection Issue: If the device is not found, consider downloading a different version of the driver.
- Printing Problems: If the printer does not print after installing the driver, ensure you have restarted your computer.
- Cannot Run Driver File: If the file does not open, check your system for viruses, then restart and try again.