
Driver for HP Photosmart 2710xi
Table of Contents
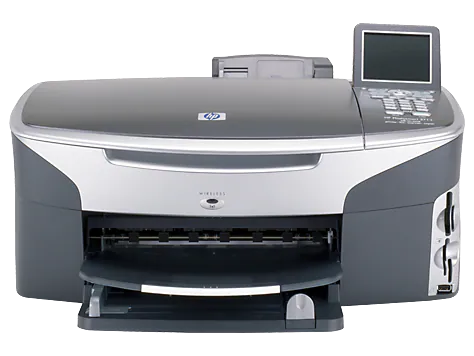
The official driver for the HP Photosmart 2710xi printer is essential for the initial connection of your device to a computer, as well as for reinstalling the Windows operating system. This driver enables Windows to recognize the printer for printing tasks. Additionally, it includes the necessary software or utility for printer setup.
To download the driver for the HP Photosmart 2710xi, choose the version that matches your Windows operating system and its architecture. If you encounter issues, we recommend reviewing the detailed installation instructions and following them closely.
Download Driver for HP Photosmart 2710xi
| OS Versions: Windows 11, Windows 10 32-bit, Windows 10 64-bit, Windows 8.1 32-bit, Windows 8.1 64-bit, Windows 8 32-bit, Windows 8 64-bit, Windows 7 32-bit, Windows 7 64-bit | |
| Driver Type | Download |
| HP Print and Scan Doctor for Windows | |
| HP ePrint Software for Network and Wireless Connected Printers | |
On this page, you can download the HP Photosmart 2710xi driver! Download the required drivers for Windows, Linux, and Mac operating systems for free.
How to Install the Driver for HP Photosmart 2710xi
- Download the driver from the table based on your Windows OS version Windows
- Launch the downloaded file
- Agree to the “License Agreement” and click “Next”
- Select how you want to connect the printer to your computer and click “Next”
- Wait for the installation to complete
- Reboot your computer to apply the changes.
Before installing the driver, ensure that no other version is installed on your computer. If so, uninstall it before installing the new version.
Common Errors and Solutions During Driver Installation
- Printer Detection Issues: If the device is not found, we recommend downloading a different version of the driver.
- Printing Problems: If the printer does not print after installing the driver, ensure that you have rebooted your computer.
- Unable to Launch the Driver File: If the file does not open, check your system for viruses, then reboot and try again.